A size label is a name, not a measurement. Two tops marked large can differ noticeably in chest width, shoulder construction, sleeve length, and body length. This Kakobuy sizing guide turns a seller chart into a practical comparison that you can document before ordering and verify again when an item reaches the warehouse.
The method starts with clothing you already own, because a familiar garment is a more useful reference than a generic height-and-weight recommendation. You will record how that garment was measured, compare the same points with the seller information, allow for measurement tolerance, and write a short QC request before using an agent route. The goal is not to promise a perfect fit from limited online evidence. It is to expose uncertainty early enough to choose a size, request clarification, or reject an unsuitable listing without relying on guesswork.
Build a reliable personal measurement baseline
Choose one garment that fits as you want the new item to fit. A relaxed sweatshirt is a better reference for an oversized long-sleeve top than a close-fitting dress shirt. Lay it flat on a firm surface, close zippers or buttons, smooth wrinkles without stretching the fabric, and use a flexible tape. Photograph each measurement so you can remember exactly where the tape began and ended. Record centimeters, the garment type, the labeled size, and a short fit note such as “comfortable at chest, sleeves slightly long.”
For a top, begin with pit-to-pit chest width, shoulder width, back body length, and sleeve length. State whether the sleeve was measured from the shoulder seam or from the center back, because raglan and dropped-shoulder designs do not share the same starting point. For trousers, record the waistband laid flat, front rise, back rise, thigh width, inseam, and leg opening. For shoes, measure your foot while standing and compare it with internal-length guidance rather than outsole length. These definitions prevent a neat-looking table from comparing different things.
Measure the reference garment twice. If the two readings differ, repeat the process rather than averaging carelessly. Soft materials move, curved seams are difficult to follow, and a tape angled by only a little can add several millimeters. Keep the measurement method consistent and note stretch. A knit top may fit comfortably even when its flat chest is smaller than a rigid woven shirt, so fabric behavior belongs beside the number.
Do not convert a flat chest width directly into body circumference and assume the result is your ideal size. Clothing needs ease: the difference between body dimensions and garment dimensions that allows movement and creates a silhouette. Compare garment with garment whenever possible. If your reference chest is 58 cm flat and the seller chart lists 60 cm for the candidate, that suggests roughly 4 cm more total circumference, provided both measurements use the same method. It does not guarantee that the shoulders, armholes, or fabric will behave identically.
Read seller measurements as evidence, not a guarantee
Save a screenshot of the current seller size chart and write down the date. Confirm whether the chart describes garment measurements or recommended body measurements. Look for units, diagrams, size-option names, and a stated tolerance. If the listing mixes centimeters and generic labels without explaining how values were taken, treat it as incomplete seller information. A useful seller detail page should let you connect the selected option with a specific row and a clear measurement method.
Compare every important point, not just chest width. A top with the correct chest can still feel wrong if the shoulders are much wider, the armhole is shallow, or the body is unexpectedly short. A trouser waist may work while the rise or thigh makes sitting uncomfortable. Put your baseline and the seller row side by side, subtract the numbers, and translate each difference into an expected effect: more room, a lower shoulder, longer coverage, a wider hem, or additional stacking at the shoe.
Allow for ordinary production and manual-measurement variation. If a two-centimeter difference would make the item unusable, the choice is fragile even when the chart appears exact. Consider choosing a listing with more margin, asking for a specific warehouse measurement, or keeping the product off the final shortlist. Also check whether the seller has separate charts for colors, batches, or updated versions. The product title and main image alone do not prove that all variations use the same pattern.
Height-and-weight suggestions can be supporting context, but they should not override garment comparisons. People with the same height and weight can have different proportions and fit preferences. Reviews can reveal whether a chart is consistently generous or short, yet reviewer language such as “true to size” is subjective. Give greater weight to defined dimensions, clear diagrams, and repeatable comparisons.
Six current OutfitReps examples for measurement practice
These six long-sleeve listings provide practical examples for applying the method. They are research references rather than automatic purchase recommendations. Open the exact detail page, confirm current variations and seller details, and compare the available information with your own baseline before deciding.
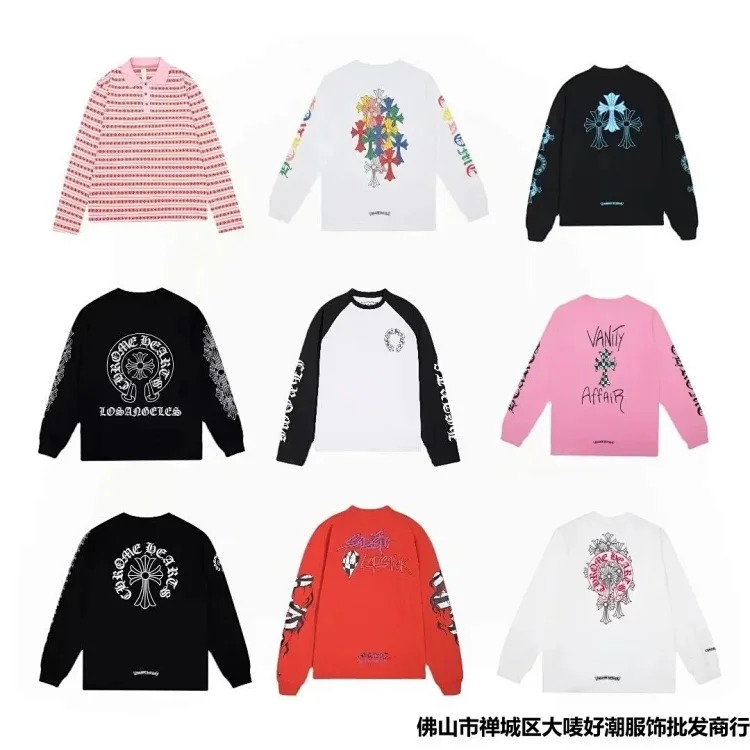
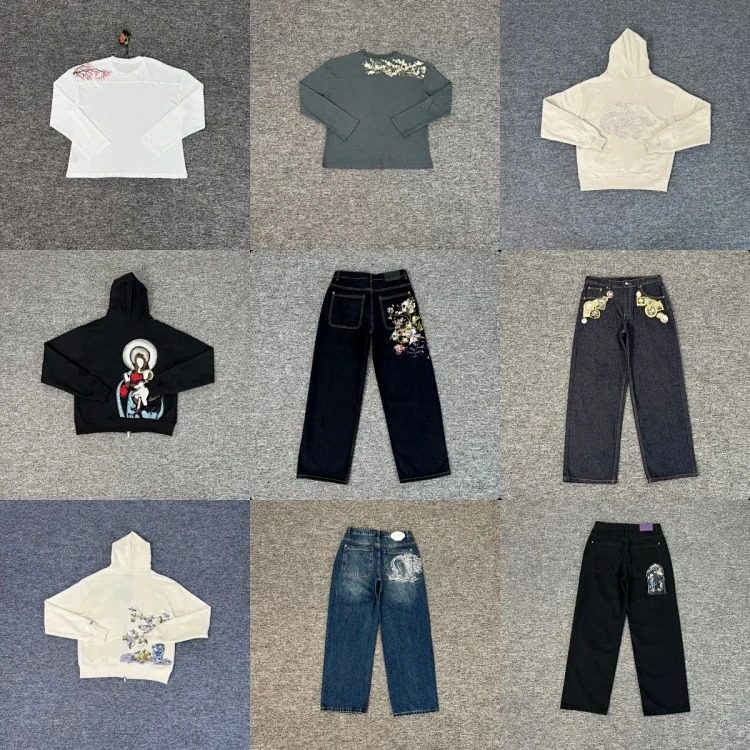
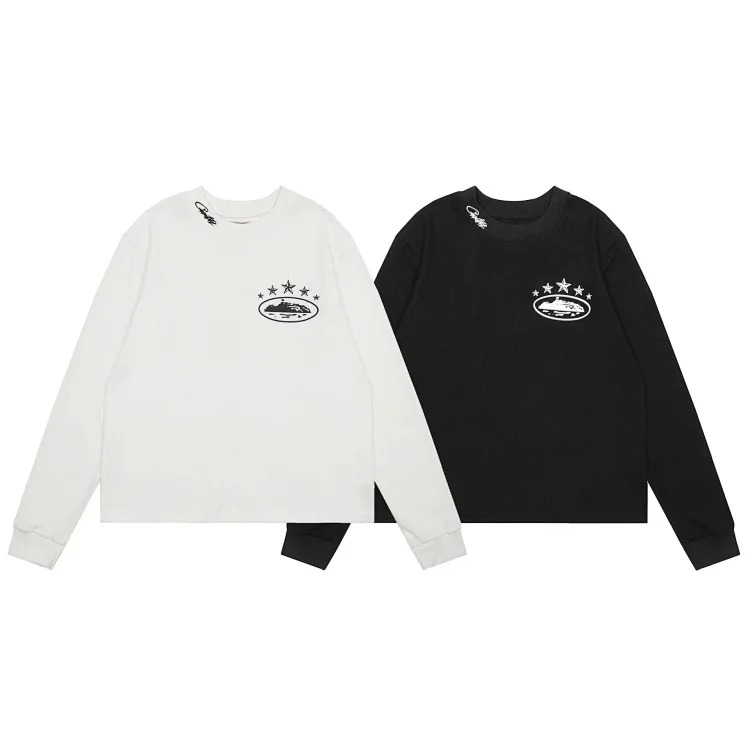
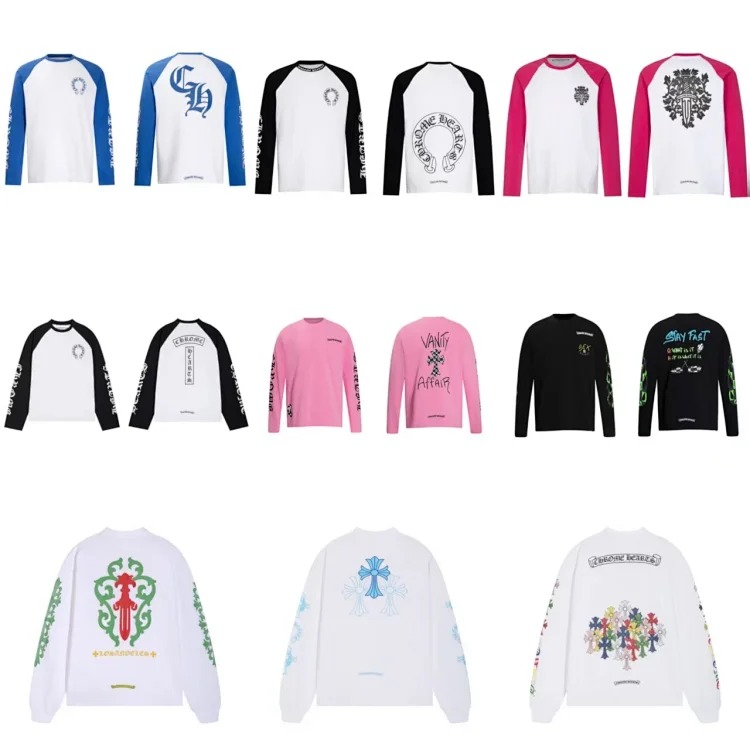
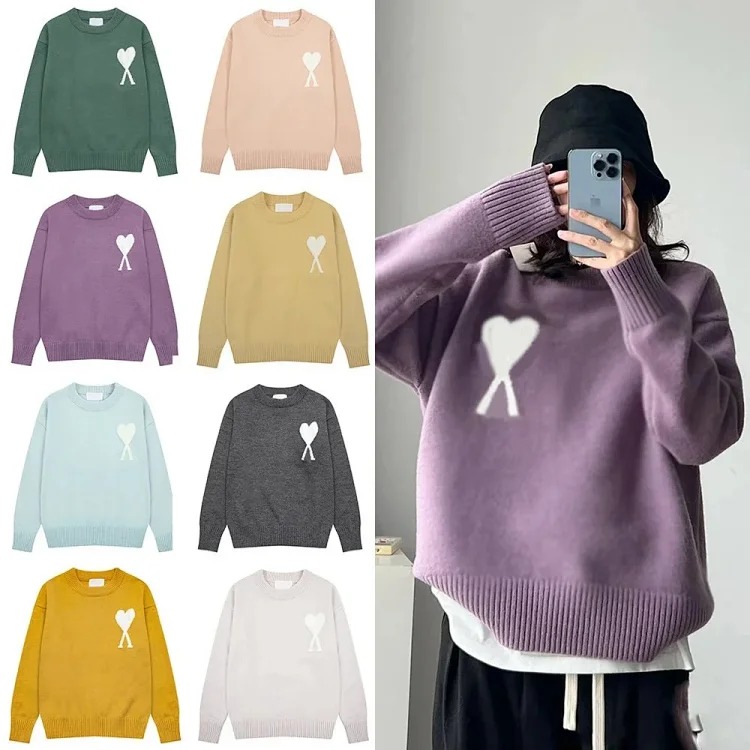
Use the first example to compare graphic placement after you establish chest and length targets. With waffle or knitted products, add a fabric-behavior note because texture and stretch can change how a similar flat measurement feels. For a unisex or couple listing, do not assume that the label follows a familiar regional scale; return to the chart. When two visually similar pages show different measurements, preserve both records instead of transferring the chart from one listing to another.
Turn the size choice into a precise warehouse QC plan
Before ordering, write the selected variation and the two or three dimensions that matter most. A useful order note might say: “Selected XL; seller chart chest 60 cm flat and back length 72 cm; warehouse check requested for chest and length.” This makes the agent workflow auditable. Save the source URL and size-chart screenshot with the note so a later change to the seller page does not erase the basis of your decision.
When the item reaches the warehouse, review identity before measurement: product, color, selected size label, quantity, front and back design, and obvious construction. Then inspect standard QC photos for seam alignment, print placement, stains, holes, and visible fabric issues. Ask for additional measurement photos only when the standard set does not answer the important fit question. State the endpoints clearly—for example, “chest laid flat from armpit seam to armpit seam”—instead of requesting a vague size check.
Compare the warehouse reading with both the seller chart and your reference garment. A small difference inside a declared tolerance may be acceptable, while the same difference can matter more near a strict personal limit. Check whether the tape lies straight, the item is flat, and the image shows both endpoints. If the evidence is unclear, request one corrected photo rather than estimating from perspective. A size tag that matches the order does not resolve a dimension that falls materially outside the expected range.
QC is also the point to confirm features that affect usable fit. Look at neck opening, cuff width, hem shape, pocket position, shoulder seam, and any lining. A thick ribbed cuff shortens the way a sleeve drapes; a dropped shoulder changes the relationship between shoulder and sleeve values; a cropped hem changes layering even when chest width is generous. Record acceptance or concern in plain language so the final warehouse decision is based on evidence rather than excitement.
Make the final agent-route and shipping decision
Approve an item only after combining fit evidence with the rest of the order. Keep the exact OutfitReps URL, seller chart, chosen option, QC measurements, and warehouse photos in one record. If the item fails a critical dimension, review the applicable return or exchange process promptly and preserve screenshots. If it passes, note the verified dimensions for future comparisons; an actual warehouse reading can become a stronger baseline than the original listing.
Fit research also supports shipping planning. Thick knitwear, fleece, and structured garments may occupy more parcel volume than a thin long-sleeve shirt. Review estimated weight, packaging options, destination restrictions, insurance choices, and the effect of consolidation before approving international freight. Vacuum packing can reduce volume for some soft garments, but it does not fix a poor size choice and may not suit every material or decorated product. Decide packaging according to fabric and construction rather than using one rule for the entire parcel.
Keep one backup listing only when it solves the same fit requirement and has independently checked seller details. A backup with a similar photo but an unknown chart is not a real alternative. Recheck inventory and measurements immediately before ordering because listings, batches, and options can change. If the evidence changes, repeat the comparison instead of carrying an old conclusion to a new product page.
The complete workflow is simple: measure a known garment, define the fit you want, read the seller chart by method, compare several dimensions, document uncertainty, request precise QC evidence, and review shipping as part of the purchase. Continue through the Kakobuy Best Links Index, use the product category index, follow the link check guide, or read the related Kakobuy QC checklist. For more current options, browse the OutfitReps tops category or all OutfitReps products.
A careful Kakobuy sizing guide cannot remove every variable in online clothing, but it can make each assumption visible. Measurements are most useful when their method is defined, their tolerance is respected, and they are checked again against warehouse evidence. That discipline turns a size label into a documented decision and gives you a clearer basis for approving, exchanging, or excluding an item before international shipping.